REVIEW · SEDONA
Sedona Devil’s Bridge, Bell Rock & Chapel of the Holy Cross
Book on GetYourGuide →Operated by Hummingbird Tours · Bookable on GetYourGuide
Sedona does not do subtle. This 10-hour red-rock car tour from Phoenix strings together three headline photo stops—Devil’s Bridge, Bell Rock area hikes, and the Chapel of the Holy Cross—plus a calm break in Uptown Sedona. I like the early timing that helps you dodge the worst crowds, and I really like the mix of short walking/hiking with big-view viewpoints. One consideration: Devil’s Bridge has a tougher section near the top, so your shoes and your pace matter.
You also get practical support: an air-conditioned ride, a live English guide, and even group photography built into the day. The day runs like a photo-and-views highlight reel, but you should plan to bring your own food (lunch time is provided as free time, not a meal). If you want long off-road detours or very deep background at every stop, you may wish there was a bit more time spent on the local area beyond the set sights.
In This Review
- Key things you’ll notice on this Sedona day tour
- Why this Sedona tour feels like a good value (and where it fits)
- Phoenix to Sedona with a smart early start (and a quick Camp Verde break)
- Devil’s Bridge: the must-see stop with the climb that tests your legs
- Bell Rock Vista and Courthouse Butte: the hike that balances effort and payoff
- The 911 Memorial and Firehouse #6: a respectful pause in the middle of the red rocks
- Chapel of the Holy Cross: the energy stop (and your best phone pics)
- Uptown Sedona free time: lunch, shopping, and a slower pace
- What the small-group setup changes for you
- Comfort checklist: what to bring so the day feels easy
- Should you book Sedona Devil’s Bridge, Bell Rock & Chapel of the Holy Cross?
- FAQ
- How long is the tour?
- What is the price per person?
- How big is the group?
- Where do I get picked up?
- Is food included?
- Are tickets included?
- Do I need hiking shoes?
- What should I bring?
Key things you’ll notice on this Sedona day tour
- Early Devil’s Bridge timing to beat parking-lot chaos (lots are full by about 7 am).
- Bell Rock Vista and Courthouse Butte walking for views that reward effort, not just standing still.
- Chapel of the Holy Cross photo moments—you’ll have time to get angles from multiple viewpoints.
- A real stop that hits emotionally: the 911 Memorial and Firehouse #6 display.
- Uptown Sedona free time for lunch, gifts, and art—handled as a relaxed break, not a rushed stop.
- Small group (max 15), which makes it easier to move as a unit without feeling herded.
Why this Sedona tour feels like a good value (and where it fits)
For $250 per person over about 10 hours, you’re not just paying for sites. You’re buying the work of getting you there and timing the day right. Sedona is close enough for a day trip from Phoenix, but far enough that you need a plan to avoid lost time, parking stress, and random stop-start schedules.
What you’re getting that’s hard to DIY well in a single day:
- Round-trip transportation in an air-conditioned vehicle.
- A live English guide guiding the order and timing.
- Cold bottled water.
- Entry ticket to a state park (handled for you).
- Photography of your group (so you don’t have to keep asking strangers to take your picture).
The big “value” question for you is this: do you want help and timing, or do you want full control and a flexible route? If you want the route optimized for views, this works. If you’re a solo road-tripper who likes wandering until you find your own angles, you might feel a bit constrained by the set itinerary.
You can also read our reviews of more tours and experiences in Sedona.
Phoenix to Sedona with a smart early start (and a quick Camp Verde break)
The day starts with a pickup from your accommodation lobby area. Your guide meets you about 10 minutes before the scheduled pickup time, so set an alarm and be ready to go when they arrive.
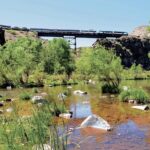
Before Sedona, there’s a 15-minute break in Camp Verde. It’s not a big tour stop, but it’s useful. It helps you reset before the Sedona portion, where you’ll be walking, climbing, and taking photos.
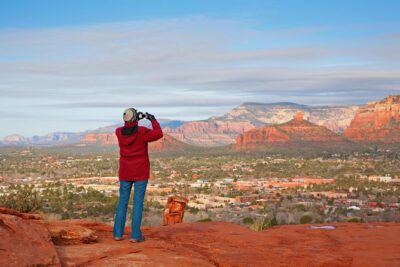
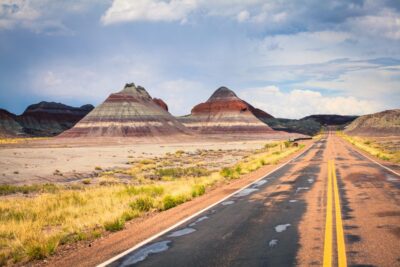
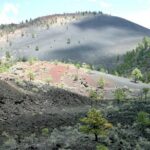
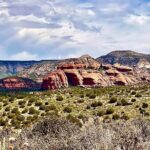
Then the drive begins. You’ll cross through parts of the Sonoran Desert, and you’ll notice the cacti and desert spacing right away—this is not a landscape that feels covered up by trees or fog. It’s open. That openness matters because it changes how the light hits the red rocks later in the day.
One reason the early start is a big deal: Devil’s Bridge is popular enough that waiting until later can mean parking headaches and crowd pressure. That timing isn’t about being dramatic. It’s about giving you better photo odds and less time fighting for position.
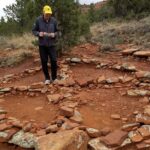
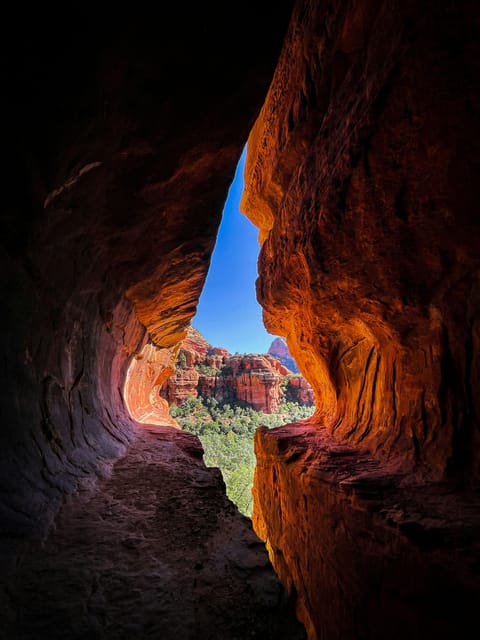
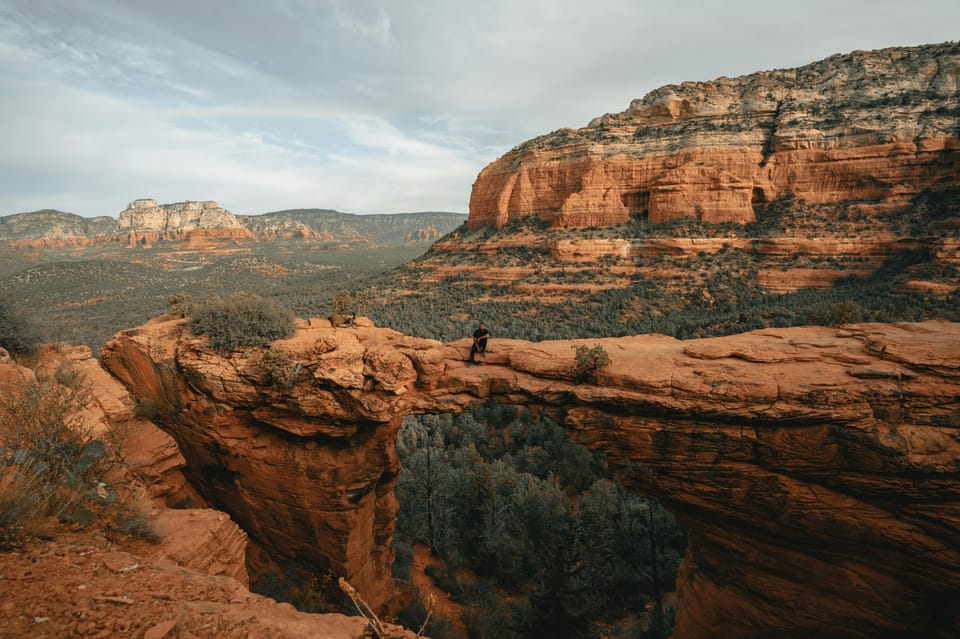
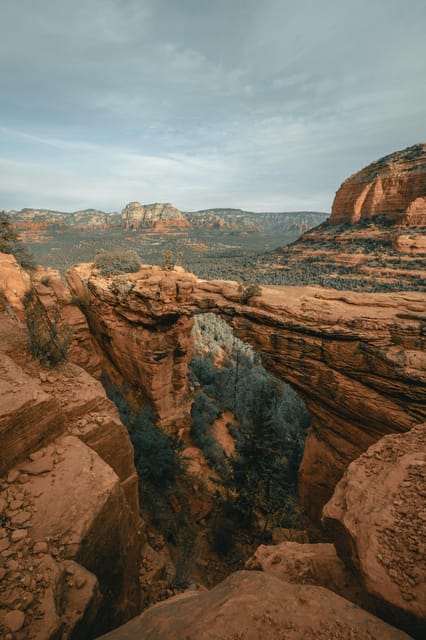
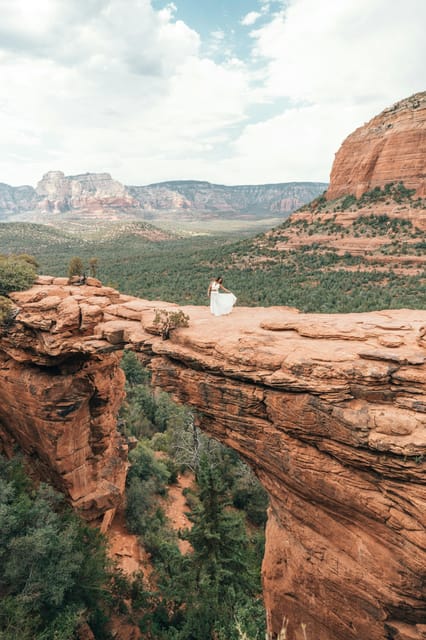
Devil’s Bridge: the must-see stop with the climb that tests your legs
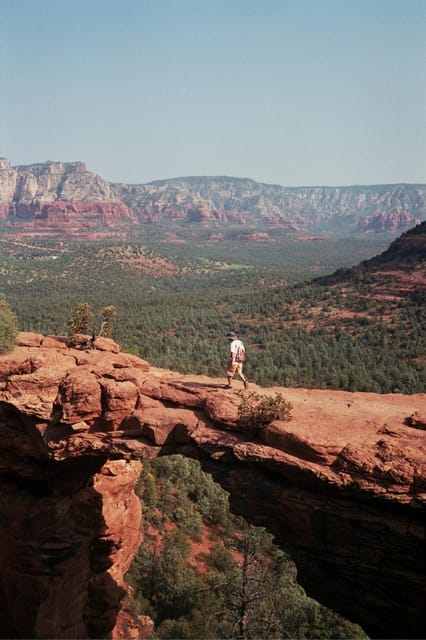
Devil’s Bridge is the headline location for a reason. It’s the largest natural sandstone bridge in the Sedona area, and the views from the bridge area are the kind of scenery you’re going to want to photograph from multiple angles.
This is also the stop where you should match your expectations to the physical reality:
- The hike has a noticeable effort near the top.
- If you pace yourself, it gets easier to enjoy.
- If you rush, you’ll pay for it fast.
In one account, a guide named LJ was patient with someone who needed to catch their breath near the top, and that extra patience helped the person actually reach the best viewpoint. That’s a good reminder: you don’t need to sprint. You just need steady steps.
Practical tip for you: wear comfortable closed-toe shoes or hiking shoes. This is not the stop for sandals, and it’s also not a place where slick soles will make you feel confident. Bring your camera (or charged smartphone), but also bring water snacks—your tour includes water, but it doesn’t include food.
Crowd reality: the parking lots can already be full by around 7 am, and if you show up later you’ll run into larger crowds and more packed conditions. The tour’s early departure isn’t just a schedule choice; it’s how you keep the hike and photos enjoyable.
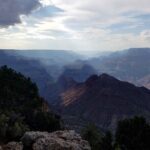
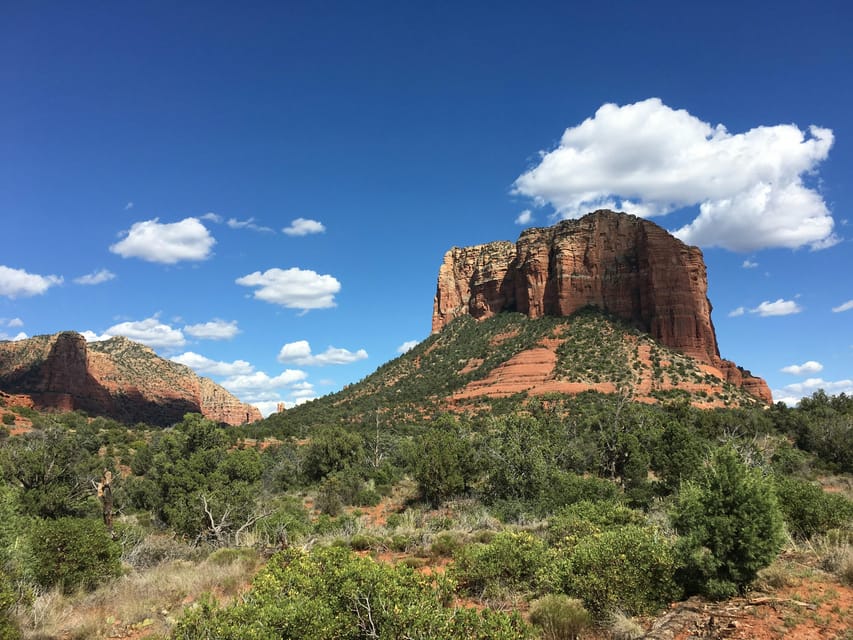
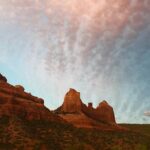
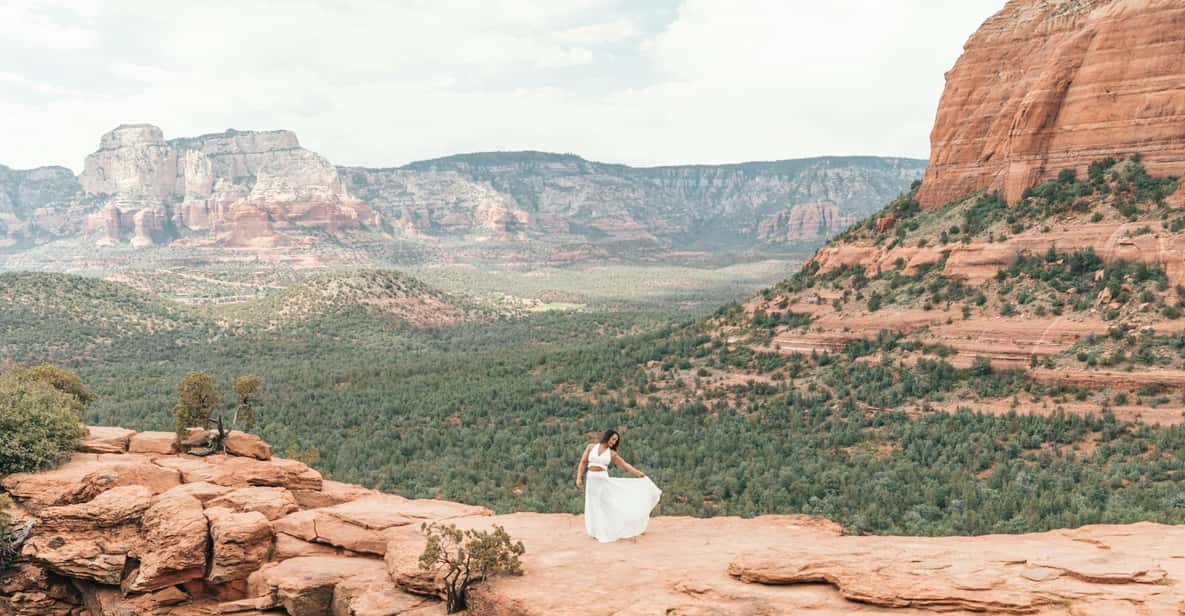
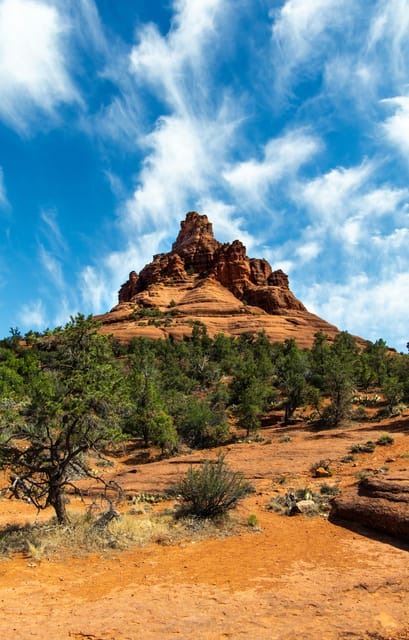
Bell Rock Vista and Courthouse Butte: the hike that balances effort and payoff
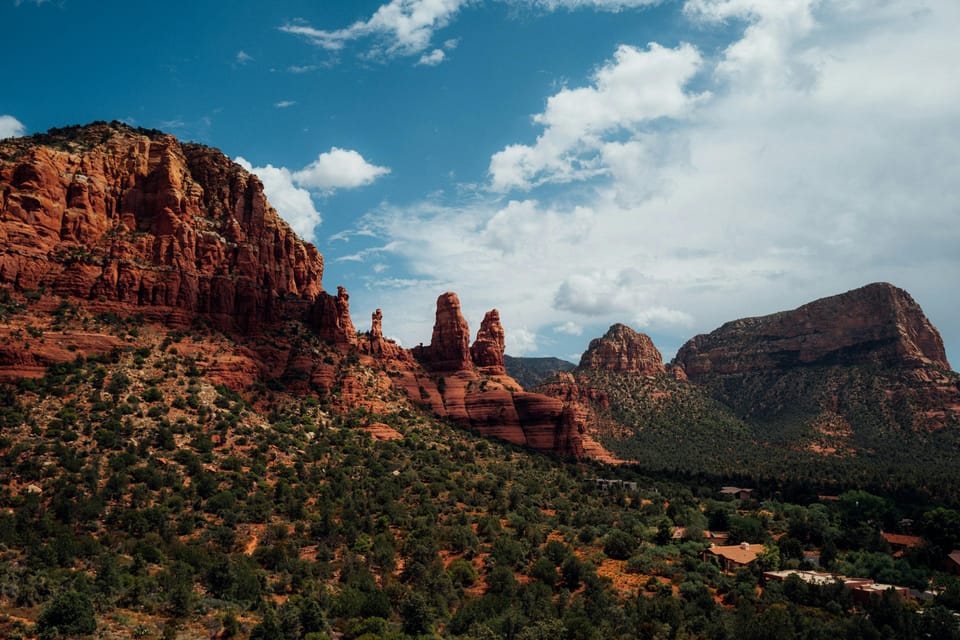
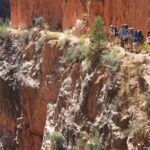
After Devil’s Bridge, the day shifts into another strong “views with movement” block: Bell Rock Vista and Courthouse Butte. This is where the tour becomes more than sightseeing from a car.
You’ll do a hike/walk near Bell Rock, including a climb up Bell Rock as time allows. That’s where you get those classic angles—rock formations framed by open sky, and viewpoints that feel slightly bigger than the photos can fully show.
Why this part matters:
- It breaks up the day so you’re not only sitting in the vehicle.
- It gives you a chance to walk off the morning drive.
- It puts you on the rocks when the light is still good, especially after your early start.
What to watch for: this is not a flat stroll. Even when it’s shorter than a full hike, you’ll be stepping on uneven surfaces and working your way along rock paths. If you’re someone who easily gets shaky on your feet, go slower than you think you need to. The goal is to enjoy the view, not to turn it into a test.
The payoff: excellent photo opportunities. You’ll want to capture both Bell Rock area shots and the wider viewpoints near Courthouse Butte, because the angle from the walking points is different from what you see from road pullouts.
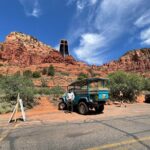
The 911 Memorial and Firehouse #6: a respectful pause in the middle of the red rocks
Not every Sedona tour includes a stop like this, and it’s one reason the day feels more meaningful than just a photo crawl.
You’ll make a quick stop at the 911 Memorial. The tour also includes the Firehouse #6 detail, where a beam from the Twin Towers is displayed for visitors to see and photograph.
This is a moment of quiet compared to the big scenic photo stops. Even if you’re not into memorials, it’s worth treating this as a respectful break—a chance to reset your head before the final sightseeing highlight.
Practical detail: because it’s described as a quick stop, you likely won’t have long to wander. Move at a calm pace, take in what’s there, and focus on getting what you came for without turning it into a race.
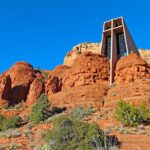


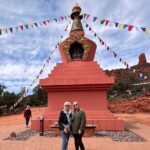
Chapel of the Holy Cross: the energy stop (and your best phone pics)
Next comes Chapel of the Holy Cross, one of the most recognizable Sedona images. If you’re the type who loves photos, this is where you’ll notice your camera suddenly feels more useful.
The tour gives you time for the stop to take pictures and enjoy the view. People often talk about the sense you get up there—the feeling that the chapel and the rock setting form a strong visual story. Whether that feeling lands for you spiritually or just aesthetically, it’s a powerful place to see in person.
One review specifically called out getting great energy and superb pictures from the top viewpoints. That lines up with what you’ll likely notice: the composition is built for framing, and the angle lets you catch the chapel against the red rock backdrop.
Tip for you: take your shots in more than one moment. Walk a short distance from where you first arrive, then pause and reframe. Even tiny shifts in position can change the whole photo. And if you have a smartphone, steady your hands and use a quick burst mode for best results.
Uptown Sedona free time: lunch, shopping, and a slower pace
By the time you reach Uptown Sedona, you’ll have earned a break. The tour schedules an about 2-hour lunch and shopping pitstop.
This is intentionally flexible time. You can use it to:
- grab a quick lunch,
- browse gift shops and art galleries,
- or simply wander and refuel.
If you love strolling around town, this part helps make the day feel less like a checklist. In another account, someone enjoyed walking through an arts village area and treated the town time as a genuine bonus.
One consideration: since the major stops are already fixed, this town break is where you’ll do the most self-directed wandering. If you’re hoping for more “area insight” and less time in mainstream tourist areas, you might find yourself wishing for an extra off-the-path moment. Still, for most people, the trade-off is worth it: you get to eat when you want and shop at your own pace.
Practical move: bring snacks if you can. The tour does provide bottled water, but having your own backup snack can help you avoid the mid-afternoon snack scramble—especially if you like to keep hiking momentum without waiting for lunch.
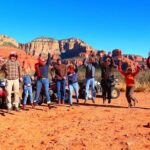
What the small-group setup changes for you
This tour keeps group size limited to 15 participants. That matters more than it sounds.
With a smaller group:
- You tend to get more direct guidance from the guide.
- Walk segments feel more manageable.
- People don’t spread out as wildly at photo stops.
- You’re less likely to feel like you’re shouting over a loud crowd.
Also, with a live guide in English, you get real-time explanations at the stops you care about. And the guide’s presence is practical: at places like Devil’s Bridge, knowing when to move and where to focus your effort can make the experience smoother.
A nice detail is that you get photography of your group included. That reduces the usual “who’s taking the picture?” stress, especially at locations where tripods and constant swapping can make the experience feel awkward.
Comfort checklist: what to bring so the day feels easy

The tour gives you bottled water and handles park entry, but you still need to show up prepared for a long day and some walking.
Bring:
- Comfortable shoes or hiking shoes
- Camera and/or charged smartphone
- Snacks
- Water (even though bottled water is included, extra can help)
- Anything you personally need for comfort (sunglasses, light layers)
Also, follow the no-littering rule. Easy, but it’s worth remembering because you’ll be moving through outdoor areas.
If you want the day to feel good instead of frantic, start with your feet. Most problems on days like this come from shoes that look fine but don’t feel fine.
Should you book Sedona Devil’s Bridge, Bell Rock & Chapel of the Holy Cross?
Book it if:
- You want a single-day Sedona highlight plan starting from Phoenix.
- You care about photogenic stops and want help timing them right.
- You’re okay with some walking and a climb near Devil’s Bridge.
- You’d rather spend energy taking photos than figuring out parking and sequencing.
Skip it (or at least reconsider) if:
- You’re not comfortable with uneven paths and a tougher section near Devil’s Bridge.
- You prefer more open-ended exploration and would rather build your own route with longer town wandering.
- You’re expecting a deep, slow-paced tour experience at every stop rather than a curated best-of day.
For the way this itinerary is set up—early Devil’s Bridge, Bell Rock area hikes, a meaningful memorial stop, then Chapel of the Holy Cross and Uptown—you’re getting a strong mix of scenery, movement, and breaks. If that matches your style, it’s a very solid way to see the Sedona red rocks without turning your vacation day into a logistics project.
FAQ
How long is the tour?
The duration is 10 hours.
What is the price per person?
The price is listed as $250 per person.
How big is the group?
It’s a small group with a maximum of 15 participants.
Where do I get picked up?
Pickup is included. You meet your guide in the lobby area of your accommodation about 10 minutes before the scheduled pickup time.
Is food included?
No. Food and additional drinks are not included. Lunch time and shopping are part of the free time in Uptown Sedona.
Are tickets included?
Yes. The tour includes an entry ticket to a state park.
Do I need hiking shoes?
Yes. The tour requires wearing hiking or comfortable closed-toed shoes.
What should I bring?
Bring comfortable shoes, a camera, snacks, water, and a charged smartphone (plus anything else you need for comfort).